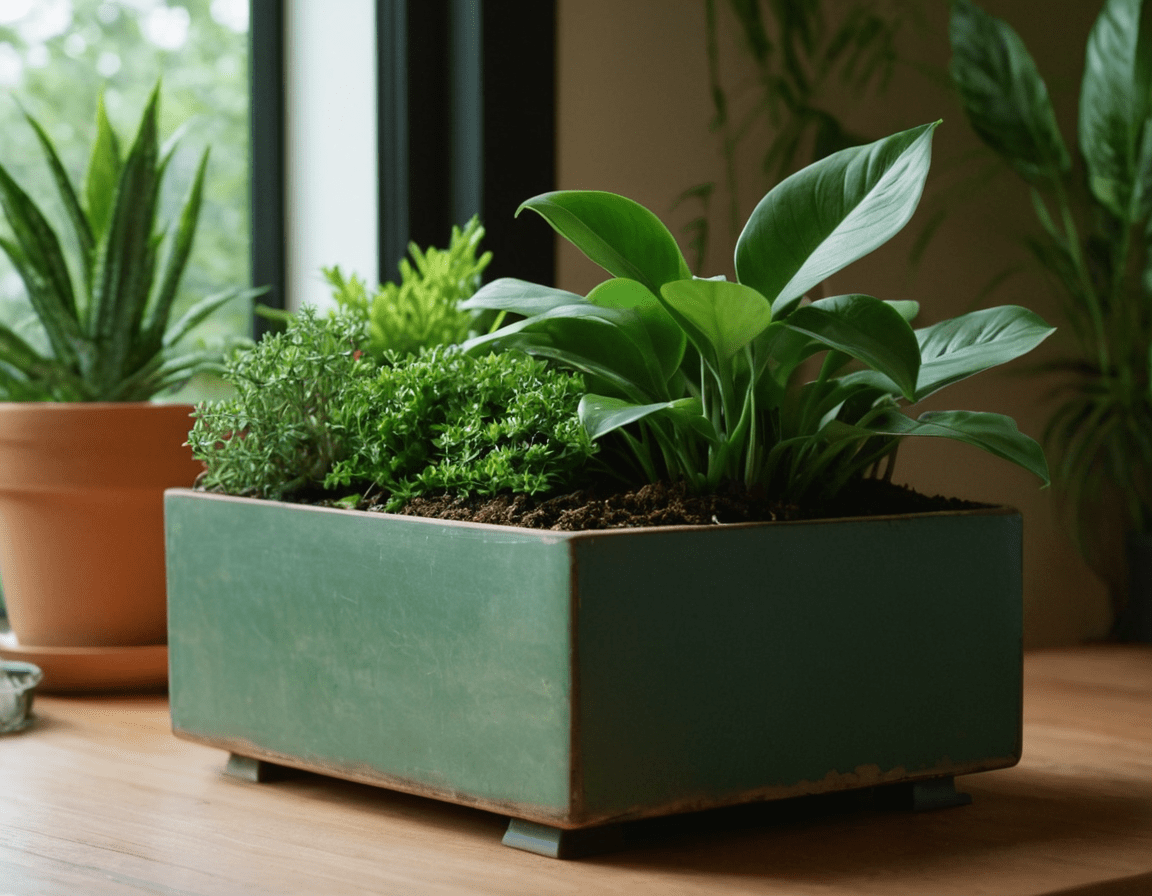
Creating a DIY Planter: Adding a Touch of Green to Your Home
Creating a DIY planter is a creative and rewarding activity that allows you to add a touch of green to your home and showcase your creativity. Here are some simple steps to create your own DIY planter:
1. Choosing the Material:
For your DIY planter, you can use a wide variety of materials, such as terracotta, ceramic, glass, wood, or even recycled materials like plastic bottles or empty cans. Choose the material that fits your style and needs.
2. Material Preparation:
If you're using a material like terracotta or ceramic, make sure to clean it thoroughly and, if necessary, sand it to remove any irregularities or imperfections. If you're using recycled materials, wash them and dry them well before starting.
3. Decoration and Customization:
This is the time to let your creativity shine! You can paint your planter with acrylic or spray paints, add decals or stickers, glue on fabrics or decorative papers, or even create a mosaic with small pieces of glass or tiles. Choose a style that suits your home and personality.
4. Planning for Plants:
Before planting your plants in the planter, make sure you have a clear plan of which plants you'll use and how you'll arrange them. Consider the light, water, and space needs of your plants and choose plants suitable for your level of gardening experience.
5. Planting and Maintenance:
Once you've decorated your planter and planned your plants, it's time to plant! Use quality soil and make sure to provide your plants with the water and light they need to grow happy and healthy. Remember to keep your DIY planter clean and well-maintained to ensure your plants thrive.
Creating your own DIY planter is a fun opportunity to express your creativity and add a touch of green to your home. With a little patience and creativity, you can create a unique and personal planter that will be the centerpiece of any space. Good luck!